My writing process is a bit chaotic, but I do have a process.
Part 1: Plotting
Step 1: starts with roughing out a basic arc of the book. I’m more of a pantser than a plotter, so this is really just a basic synopsis – to make sure it has all the exciting plot-points and I haven’t missed the rising tension or other main beats. For The Conjunction this was just an index card, back and front.
Part 2: First draft
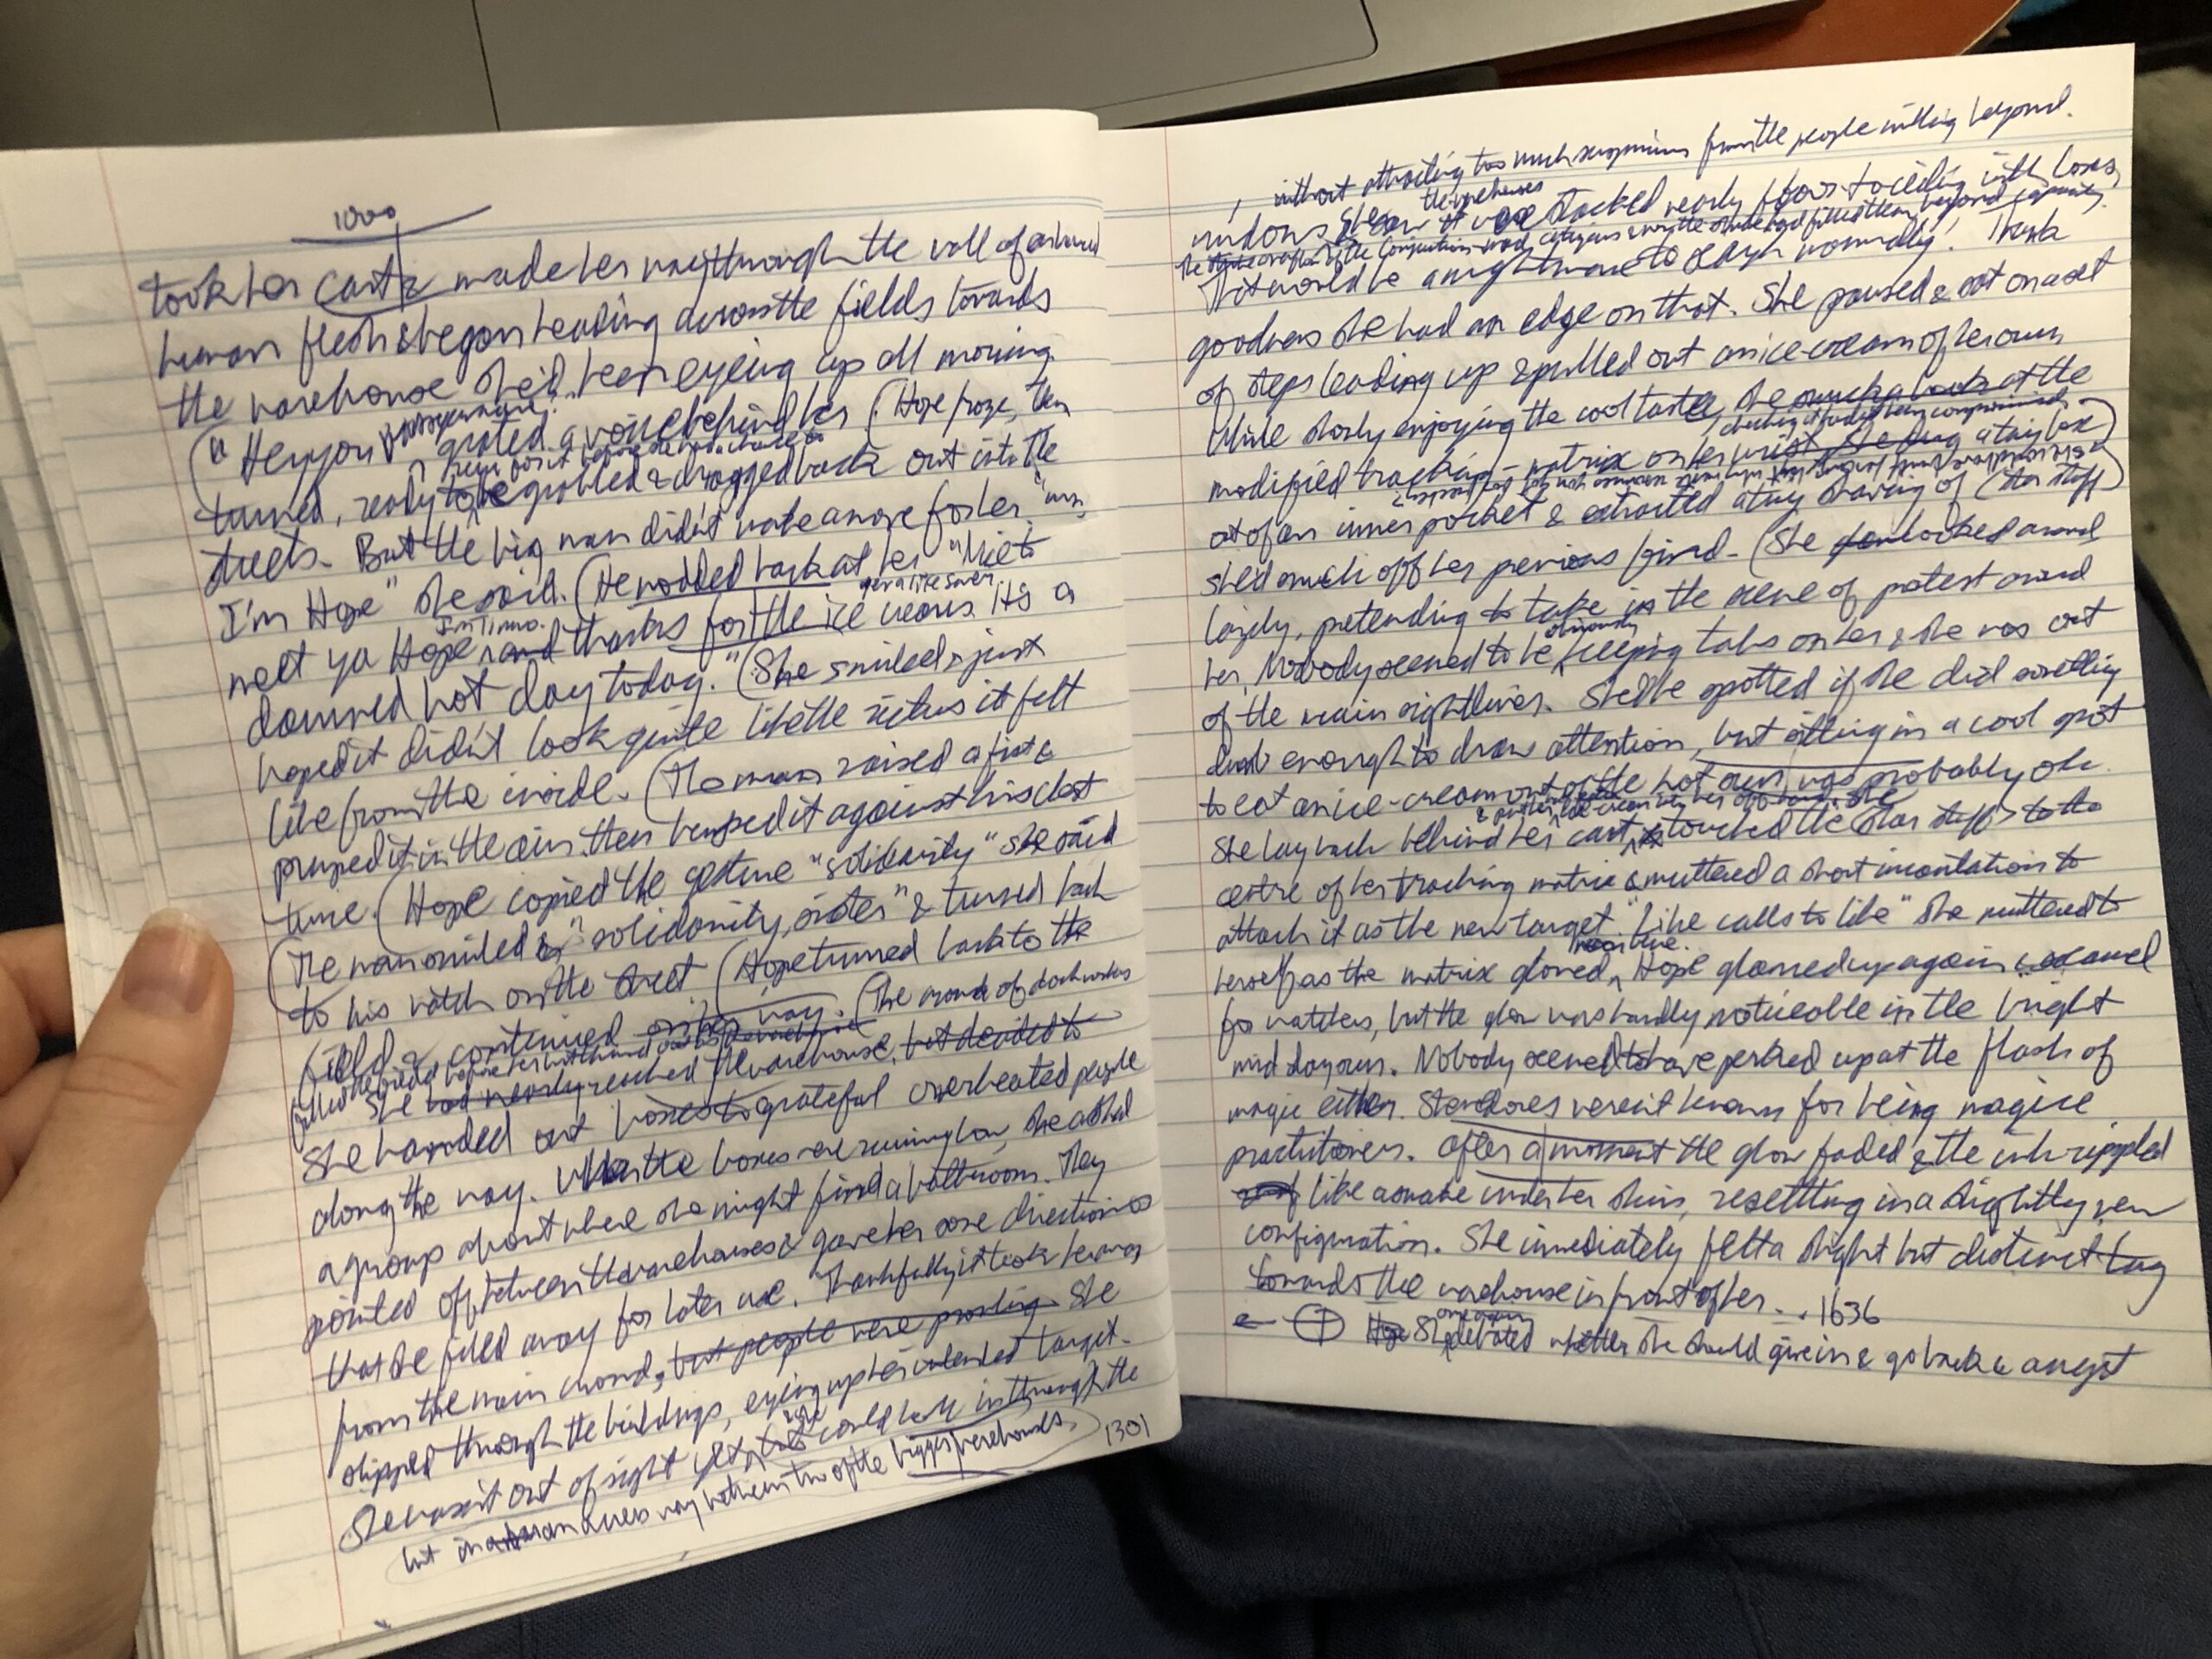
Step 2: my first draft I write long-hand. Yep, pen and paper. It gets me into Flow much easier than typing and I spend less time staring at an empty page. Pictured here is a page from The Conjunction’s first draft to show you what I mean. Usually I write with no paragraph breaks, just everything on the page and sort it out later. I prefer cheap exercise books (about 240ish pages) – it usually takes two of these for a whole book. The Pilot BP-S Medium Blue pen is my favourite. I love how it feels in my hand and how easily it flows on the page.
Step 3: after most writing sessions, I’ll also dictate some of what I previously wrote. I’m usually behind by a few scenes. I copy that up into Scrivener, which is how I keep track of all the writing for my book. Then I go through it to fix the autocarrot mistakes.
Step 4: after dictation, I print out a copy for editing and take to it with a red pen. Reading it on hard-copy makes it much easier for me to see mistakes. I use this to spot typos, repeated words or ambiguous/confusing grammar, but also badly described sections that need a bit more explanation. I’ll then update the copy I have with my fixes.
In the meantime (once I’ve got at least 50% written and have a fair idea what the full story will be about) I’ll also get in touch with my cover designer and work with them on a gorgeous cover.
Part 3: Editing
Step 5: I upload my chapter into ProWritingAid – which is an invaluable tool for me. It spots grammatical errors and types for me, but also things like where I’ve started three sentences in a row with the same word or excess usage of certain phrases. Also weird or excess dialogue tags. PWA has really helped me tighten up my prose and get it ready for my final editing pass.
Step 6: I’ll export to Word format (not my favourite but it tracks suggested-changes better than any alternative), and send to my editor(s)/proofreader.
Step 7: I spend some time integrating the changes they suggest – or not – being self-pub means I get the final veto. 😀
There are usually a couple of rounds of back and forth as they suggest changes and I’ll fix them. The word-count usually drops significantly at this point – as I remove slow scenes and tighten the pacing. We go back and forth until I call a halt because it’s good enough for now. I try to live by the philosophy of “the perfect is the enemy of the good” to get past my perfectionism.
Part 4: Prep for publish
Step 8: So now I have all the pieces ready – I just need to put them all together to create the book ready for kindle. Thankfully, Scrivener has some great formatting options to make that easy. I publish it to ePub format, then (because I’m a web-developer too and ePub is really just zipped html+css) I tinker a little to fix it up. I check the completed manuscript in kindle previewer as I go.
Step 9: Then I push it live to Amazon!
I’m still working on how to make a paperback, so when I figure out how to do that I’ll come back and edit this to add how I do that too 😀